How to remove a frame in the Word?

Many of the PC users when scanning a document or converting it from a PDF document into a Word document have encountered a problem: how to remove the frame in a Word?
Text frames in Microsoft Word documentsare used to embed functions in a document or for the specific placement of text blocks. Sometimes a scanned document will automatically generate frames from the text when the character recognition software converts the document into MS Word format.
Such frameworks do not rarely make a document almostunavailable for simple text editing, since all the text is inside them. We have a task ahead of us and we need to decide how to remove the frame in order to make it possible to edit the document. There are two approaches to solving this problem. One of them is to remove all frames from the document at once, the second - to remove the frames separately, one after another. And so, how to remove the frame in Word:
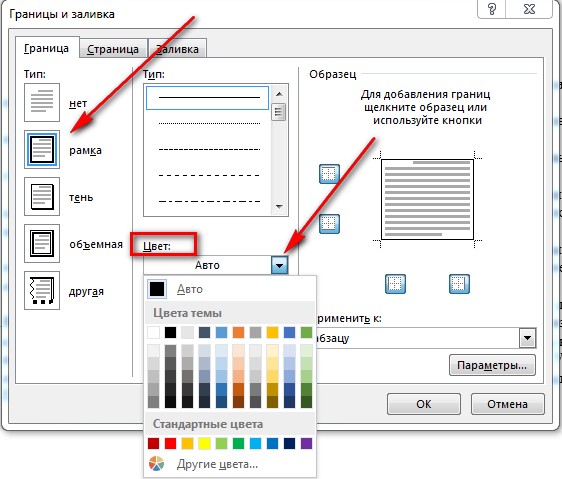
Removing individual frames is an easy process. In Microsoft Word 2007, for example, this option is located in the "Page Layout" - "Page Borders" menu - Type: None. Or, in any version of Microsoft Word, you can right-click on the edge of the frame and select the option "Frame format", then "Delete frame". The frame will be deleted.
But removing this way will take a long time. So another approach is to delete all the frames at the same time. For this:
- Open the desired Microsoft Word document;
- Copy all the text by pressing Ctrl + A (highlight) and Ctrl + C (copy) and paste it into the notepad by pressing Ctrl + V (paste);
- Open a new Microsoft Word document;
- Copy the text from Notepad and paste it into the Microsoft Word document;
- Done, the frames are removed.
To delete a frame along with the contents of the text, select it by clicking on the edge, and press the "Delete" key.