How to boot BIOS from a USB flash drive?

Watch the video


When installing / reinstalling the system,reset BIOS (BIOS) to boot from the device from which the installation will be performed. In this article, we will tell you how to load BIOS from a USB flash drive.
General scheme
Depending on the computer model you will need,most likely, work with one of three types of BIOS - Award, AMI, Phoenix-Award BIOS. The last version is rather rare, but we still consider the mechanism for each variant, but first we give the general scheme of work.
- We insert the bootable USB flash drive into the USB connector.
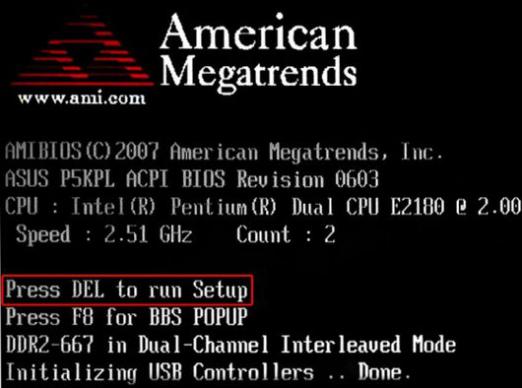
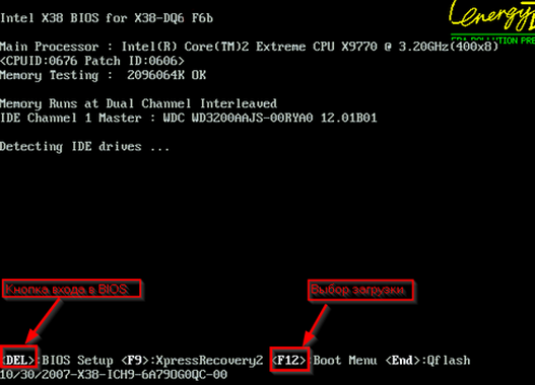
- Turn on the computer and watch the change of the screensavers,usually on the second screen saver the user sees a "Press XXX for Setup" or "Setting BIOS [XXX]" entry, where XXX is the specific key / key combination that you need to press to enter the BIOS settings (usually Del or F2).
- Press the required key to enter the BIOS / key combination.
- Check if the USB controller is turned on.
- We find in the settings section Boot, assigning the boot priority to the boot drive.
- Save the changes, restart the computer.
BIOS Management
Usually, the "journey" through the BIOS menu is carried out withUsing the arrows - forward, backward, left, right, confirmation of the operation is done with the Enter key, and cancel - Esc. Either way, the BIOS interface always has clues as to which keys can be used to perform this or that option.
Award BIOS
So, you were able to log in and you see that the BIOS settings interface has a blue screen (see Figure 1), so you are dealing with Award BIOS. And here's what the next setting looks like:
Check if the USB controller is enabled
- Go to the Integrated Peripherals section, look for the USB Controller parameters and

- Check the value in front of USB Controller and USB 2.0 Controller, in this case the parameter must be Enable.
- If we see the value of Disabled, we change the value to Enable.
Set Priority
- Go to the Advanced BIOS Features section, then Hard Disk Boot Priority.
- Select our bootable USB flash drive and use the "+" key to raise it to the first line.
- Open the section First Boot Device, change the parameter CD-ROM to USB-HDD.
All that's left is just to save the settings and restart the computer.
AMI BIOS
If, by going into the BIOS, you see a gray interface screen with a blue border (see Figure 2), then you have an AMI BIOS.
Check if the USB controller is enabled
- Go to the Advanced section, then USB Configuration.
- Check the value in front of USB Function and USB 2.0 Controller, in our

- If you see another value, change it to Enabled.
Set Priority
- Go to the Boot section, then - Hard Disk Drives.
- Click on the parameter 1st Drive, in the window that appears, select our bootable USB flash drive.
- Open the Boot Device Priority section, click on the 1st Boot Drive option, in the pop-up window, select our bootable USB flash drive.
Save the settings, reboot the computer.
Phoenix-Award BIOS
If, by going into the BIOS, you see a gray interface screen with a green border (see Figure 3), then you have a Phoenix-Award BIOS.
Check if the USB controller is enabled
- Go to Peripherals

- Check the value in front of USB Controller and USB 2.0 Controller, in our case the parameter should be set to Enabled.
- If you see another value, change it to Enabled.
Set Priority
- Go to the section First Boot Device.
- Set the value of USB-HDD.
That's all! Done! Now you can save the settings and restart the computer.
Read also other articles from the BIOS section:
- How to reinstall BIOS from flash drive
- How to download the system


