How to embroider smoothly?
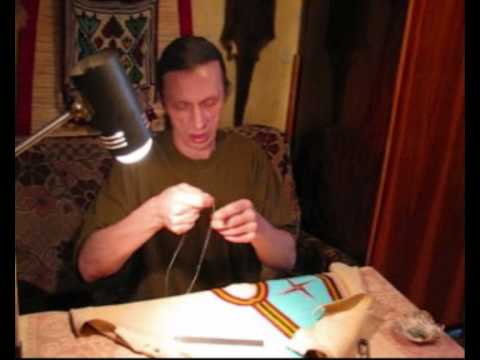
Watch the video

It is customary to call embroidery any method of applicationdrawing on fabric with thread and needle. The history of this remarkable kind of arts and crafts dates back far more than one century, and each people has developed its own school of embroidery.
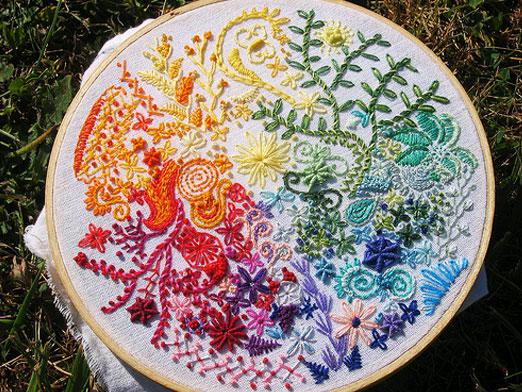
Therefore, in our time there is a hugea lot of techniques of how to embroider. The glaze is different: shady, dense with a flooring, a simple smooth surface, easy without a flooring, cut through, satin and others. I propose to consider a technique called "simple smooth surface", since it is suitable for any fabric, it looks very impressive and does not require the study of complex joints. So, we will begin the preparatory work.
Basic principles of embroidery
To begin with, we need to translate the drawing intoselected fabric. There are several ways. The first is to draw a contour drawing on the canvas by itself. The second - with the help of a copy paper. Put a copy paper on the fabric, on top - a picture, fix it so that they do not move out, using magnets, pins and other means and translate with a pencil or pen. The third method is using glass and a lamp. On a horizontally lying glass (for example, a glass table) we place a picture, we put the cloth on top and, lighting it from below with a lamp, translate our drawing onto a cloth.
You need to embroider on stretchers or embroidery frames. They can be purchased at specialized stores. The fabric should be very well stretched. This is a very important point in embroidery by any kind of smooth surface. If the fabric is slightly tight, then under embroidery, it can begin to bump, and this is noticeable at the end of the work, when removed from the hoop. It is usually not possible to correct such a shortcoming. Needles are better to use thin: the thinner the needle - the smaller trace it leaves behind, and the stitch lays down neater. For embroidery on the surface, a mulina or artificial silk is used.
Simple surface
Now let's talk more about how to embroidersmooth "smooth surface". A simple smooth surface is an embroidery in which the pattern is filled with parallel stitches pressed tightly to each other. The size and direction of the stitches can vary, depending on the motive that they fill. The main thing is to keep the parallelism of the stitches when embroidering one element.
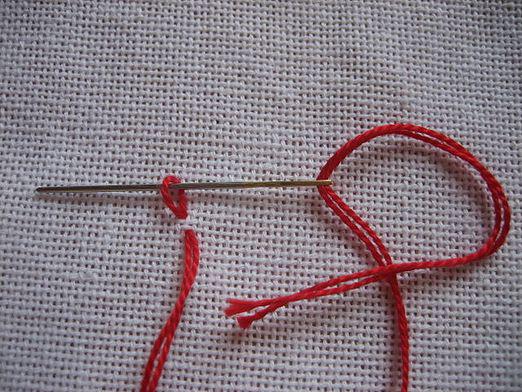
A simple surface is two-sided: the front and back sides are the same. Therefore, all the ends of the working thread are carefully carefully hidden under the stitches. Nodes for fixing the threads are not tied, instead, on the front side inside the embroidered element, sew a few stitches "forward the needle" and pull the thread, that its end was in the fabric. After doing this, we begin to embroider. Padded stitches cover the end of the thread.
Securing the thread, we perform rows of neat straightstitches, tightly pressing them to each other. Stitches should not go beyond the outline of the picture. For this, pierce the fabric with a needle clearly along the contour at a right angle. When you finish embroidering one element, you can fasten the end of the thread to the nearest friend. Now that the basic principle of embroidery has already been studied, I suggest that you familiarize yourself with some other techniques.
Stem Seam
How to embroider smoothly? The stalk suture is one of the oldest. Consists of oblique stitches, pressed tightly to each other. Despite the fact that the caulis is contoured, it is also widely used in the art: thanks to its plasticity, it can fill irregularly shaped parts.
Having made the first stitch, from the wrong side we deduce the needle incenter of the first stitch and make the second stitch. We deduce from the inside the needle clearly at the end of the first stitch. It is necessary to watch, that the needle, coming from the wrong side of the face, bends around the already stitched stitches, or only to the left, or just to the right. Ideally, the stem stitch looks like a twisted rope.
Tambour seam
Fixing the thread from the wrong side, we put it on the frontside loop over the fabric. Then, the needle is introduced from the front side clearly into the puncture from which our thread emerges and displays on the front side, indicating the end of the future loop. Pull the thread. Again, we lay it in the form of a loop and make a puncture at the exit point of the thread. Output the needle, indicating the end of the loop. The length of the eyelets should be the same.
Countable surface
The countable smooth surface is one of the oldestembroidery technician. A characteristic feature of the countable smooth surface is that the embroidery is carried out strictly according to the count of threads of the decorated fabric by parallel stitches. Distinguish between an oblique and a direct countable surface. In straight stitches are placed along the thread of the decorated fabric horizontally or vertically, and in the oblique - respectively, with different slopes.
In order to make it easier for you in practice, I recommend that you watch the video, how to embroider it smoothly.