How to embroider a cross?
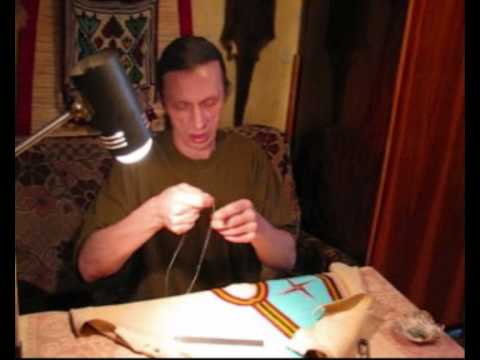
Watch the video
How to embroider a cross?


Girls and women who loveare often interested in how to properly embroider a cross. The cross is one of the easiest types of embroidery, and you can learn how to embroider in this way in seconds! The main thing is to observe all the rules of embroidery, and the result will not take long.
Cross Stitch: Tools
So, in order to make embroidery a cross, we will be useful:
- Threads of a moulin. These are special threads for embroidering in the form of small hanks. Pick up the strands of the right color and as many as you need for embroidery.
- Embroidery frame. Their size again depends on the scale of the pattern you want to embroider.
- Canvas for counting embroidery - special cotton fabric, divided into small squares.
- Needle for embroidery with a blunt tip.
- Scissors.
- Schematic drawing.
How to embroider a cross: steps
- First make a diagram of the picture you wantembroider, or take the ready-made one. Important: the drawing should be printed on paper in a box and consist, respectively, of small squares, corresponding to the size of paper cells. Two lines perpendicular to each other must pass through the center of the figure.
- Process the edges of the canvas. They can be sewn with a thread or use non-woven fabrics. Flizelin is attached to the edges of the canvas with the help of an iron.
- Determine the center of the canvas. To do this, it must be folded in half horizontally, and then vertically. Center the note with a small neat point. The center of the canvas is the center of your drawing.
- Determine the size of the picture. To do this, calculate the length of the drawing (from the highest point to the lowest point) and the width (from the most extreme left to the most extreme on the right). You should get a size of 15x15.
- Now you need to properly place the canvas onembroidery frame. The center of the canvas should be in the center of the hoop circle. Put the canvas on the smaller circle of the hoop, then gently press it, inserting over the larger circle. The fabric should be firmly in the frame. She should not be rasplybana, but too stretched too.
- Cut a small amount of thread muline and divide the thread into two halves (the thread of the floss consists of six thin strings, for embroidery a half is used, ie 3 strings).
- Determine where you will begin to embroider. Usually start from the middle, but you can start from any angle. Correctly calculate the scheme of the squares from the center, and then transfer the calculation to the canvas.
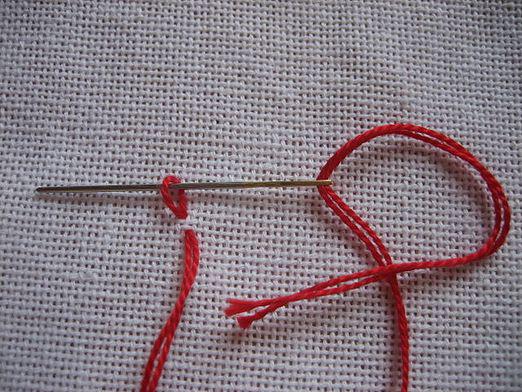
- That there were no nodules and screeds, it is necessary correctlyfix the thread. Remember, floss threads contain six small strings. You can do this: take one small thread and fold it in half, so that an eyelet is formed. It helps to fix the thread for embroidery.
- Thread the thread into the needle. Enter the needle with the thread in the lower left corner of the square, while leaving the thread single. Also do not forget to leave on the front side a small loop for fixing. Bring the needle back to the front in the same place and thread it through the left eyelet. So you carefully fix the thread. To prevent the knot from spoiling the embroidery, pull the needle again inside out in the lower left corner.
- Now you can proceed directly to the fact,how to embroider a cross. Output the needle to the front in the upper left corner and enter back to the bottom in the lower right. On the front side you will get a diagonal stitch. Thus, make as many stitches in a row as indicated on the diagram. When you finish the row, make a counter stitch from the right upper corner to the bottom left, which will help to form crosses. Thus, and do all the embroidery on the rows. Remember that the stitches should always be in one direction.
- At the end of the embroidering of the series,a thread. You can hide the thread on the front side. To do this, fix each of the two strands on the wrong side to the stitch, and then take them out one by one to the front, draw the thread by the cross and trim neatly.
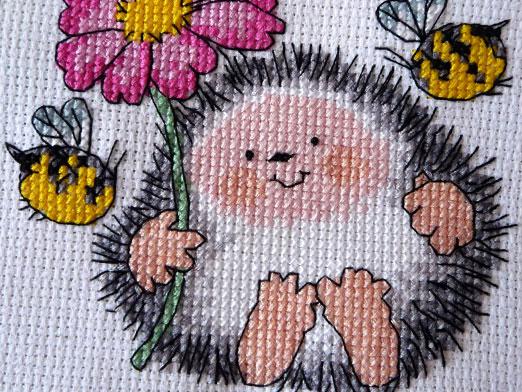
- Thus, classical cross stitch is performed. Try to make accurate sturdy stitches without broaches and knots. It will turn out very beautifully!