How to make a stretch ceiling?
Watch the video
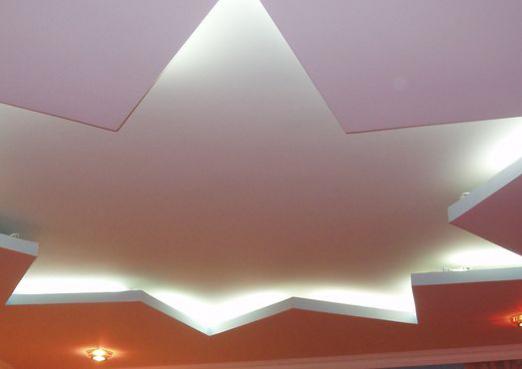
Stretch ceilings like many. They do not emit harmful substances and look very interesting and original. In addition, this design allows you to make a mirror similar to the ceiling and depict any drawing on the ceiling on the selected scale. Thanks to this, you can individually design a nursery, stretch the chic ceiling in the hall and pick up the print in the kitchen, in the bathroom and toilet. This type of ceiling is easy to clean and resistant to flooding by unscrupulous neighbors. There is an opinion that it is impossible to perform such work independently. We in this article will tell you how to make a stretch ceiling with your own hands.
Installation of stretch ceiling
It is important to know that:
- Ceilings come from fabric and PVC film.
- It is inadmissible to use lamps with a power of more than 50W. They heat the ceiling and cause it to lose its elasticity.
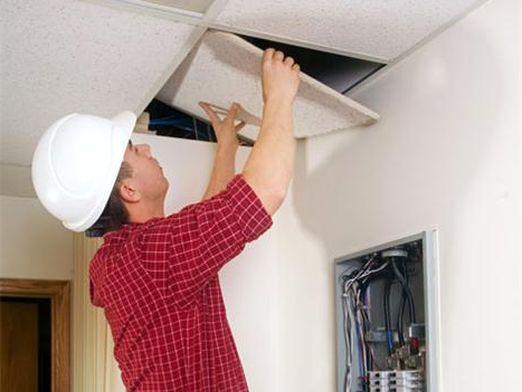
So, you decided on the stretch ceiling. How to make it yourself? Consider a simple case of installing the ceiling - pipes and other communications coming from the ceiling - no, while in the room there are no protrusions. Use a special baguette to attach the film.
- First of all, with the help of the hydro level, you need to find the bottom corner in the room, retreat two centimeters and make a mark. Further, the zero level must be applied along the entire perimeter of the walls.
- Further, the angles in the room are measured. To do this, use a special protractor.
- After that, you need to move on to fixing the profile. But first you need to prepare a profile rail. There are two possible cases:
- The rake may be longer than the width of the room,
- The rake is shorter than its width.
- If we consider the case of the first, then the slats should be cut at an angle, which is equal to half the corner of the room.
- In the case of the 2nd, one corner will be filed under half the corner of the room, and the second will be 90 degrees.
- With the missing piece of profile do the same, only the bevel must be done for the opposite corner.
- Both parts of the profile need to be glued with glue.
- After that, with the help of screws and dowels, the profile must be fixed to the intended level on the wall. A room with a profile attached around the perimeter of the room will be obtained.
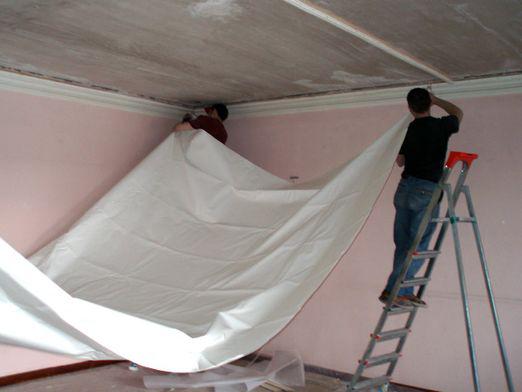
- Next, you need to warm up the room with a heat gun up to 40 degrees, no less. And only by doing this, you can start unwinding the film. Close to the gun does not bring it.
- Preparations are over and you can go totensioning the ceiling. Installation begins with a base angle, then an opposite angle along the diagonal and so on. When all four corners are fixed, the sides are fixed. This is done from the corners to the center. The film must be heated to 60 degrees at the time of fastening. This installation procedure is for PVC film. If you install fabric tension ceilings, you first need to fix the sides, and then the corners.
We talked about how to properly make a stretch ceiling. Separately need to talk about the types of fastening.
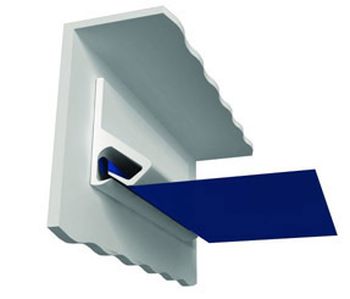
Harpoon fasteners
Use it for a ceiling based on PVC film. Baguette in this case is an aluminum profile. The fastening element in this fastener looks like a harpoon. This is the main type of attachment for such material. But the staple method is still widespread, it is cheaper, but less reliable. It will be required for such fastening:
- Harpoon
- Cloth of the ceiling
- Baguette
- Main ceiling
- Wall
- Decorative overlay
Fixing hardware
Use in this case a wooden bead andThe U-shaped profile is aluminum, which the ceiling cloth clamps. Disadvantages of this method: the glazing can pop out of the groove; To fix the film securely, you need to have sufficient experience. It will take:
- Shtapik
- Cloth of the ceiling
- Decorative overlay
- Baguette
- Main ceiling
- Wall
Clip fasteners
It is used when installing the Clipso fabric ceiling, in this case the baguette is made of plastic. It will take:
- Clip
- Wall
- Cloth of the ceiling
- Main ceiling
After the ceiling is mounted, the finishing touches will remain:
- The insert of wooden plugs, which hide the fixing of the ceiling
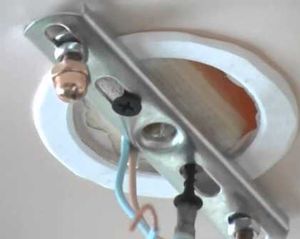
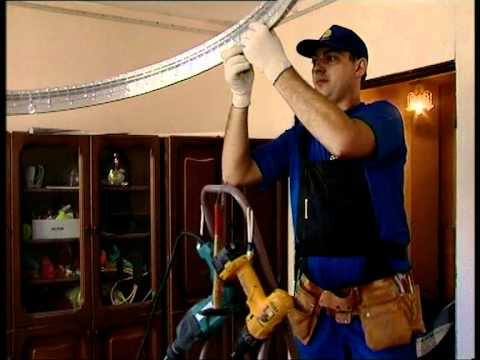
- Installation of lighting fixtures.
To fasten the chandelier, you need to prepare a ring fromplastic. It is necessary that the outer diameter of the ring allows the decorative cover of the chandelier to conceal it. The ring must be glued to the canvas in such a way that the center of the ring coincides with the fixing point of the luminaire. After the glue dries, you can make a hole in the stretch ceiling and fix the chandelier. The fabric basis of the ceilings can subsequently be painted with acrylic paints. Thus it is possible to create the effect of clouds or waves. Let's consider the advantages and disadvantages of stretch ceilings.
Benefits
- Stretch ceilings allow you to get a flat surface. Ceilings can hide various defects.
- Install tension ceilings is not difficult. When working with plasterboard a lot of dust and debris. In addition, suspended ceilings are installed for a long time, in contrast to tension ceilings.
- Stretch ceilings have a long service life. What can not be said about ceilings suspended. They may suffer from shrinkage at home, for example. Stretch ceilings will save even in this situation, if the neighbors are flooded, and there are no suspended ceilings.
Now you know all the technology of creating tensionceilings. The disadvantage is that such ceilings are easily damaged by sharp objects. In addition, they are expensive. We told in this article how to make a stretch ceiling. Video materials on this topic will also be extremely useful to you. As visual information will allow you to delve into all the subtleties of the case.