How to overclock AMD Athlon?

Watch the video


As you know, computer performancedepends on the parameters of its components and their joint functioning. However, to find a good "composition" of PCs is small, you also need to be able to configure these elements in such a way as to achieve the maximum realization of the capabilities of the computer. That's why such a function as overclocking the processor, today interested many users. In this article, we'll talk about how to overclock the AMD Athlon processor.
How to disperse Athlone
Obviously, even the coolest PC model,which you choose, after a while will acquire more powerful competitors in the face of computer innovations. Some users in such situations start to think about buying a new PC, others - to upgrade their computer. However, there is another way that does not require financial costs - overclocking the processor, which makes it possible to improve the performance of its components.
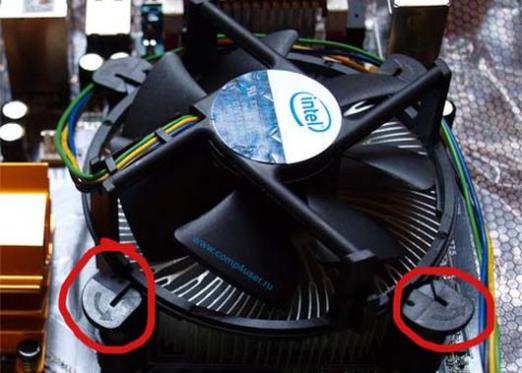
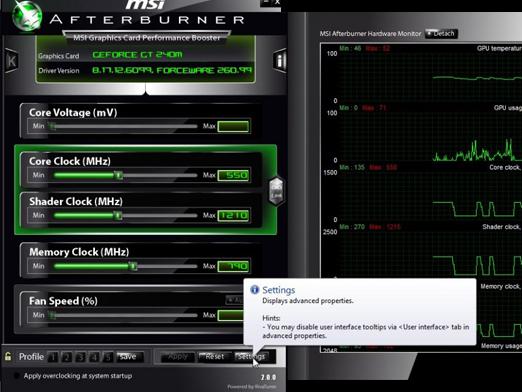
AMD Athlon processors have a largeThe technological reserve, which allows to increase the productivity by overclocking, usually by increasing the frequency of its bus. Overclocking of the processor is carried out both with the help of special programs (in our case AMD OverDrive or PowerTweak2 is most often used), and via BIOS. The latter option is used by specialists more often, since they consider it safer for the computer.
How to overclock AMD Athlon in BIOS
We'll look at the BIOS overclocking instructions for the AMD Athlon II X2 245 processor. You can get into the BIOS by pressing the Delete key at the boot stage, before the OS boots.
- In the main menu of the program you need to find the "Advanced" section.
- In its subsections there are basic settings that are necessary for overclocking. Here you need to select the "JumperFree Configuration" section, which will be modified:
- The sub-section "Al Tuning" from "Auto" should be changed to "Manual" to be able to set the necessary parameters manually.
- "CPU Frequency" is the frequency of the system bus of the processor, which should be increased. Therefore, from the status of "Auto" it is changed to a value of 260 MHz.
- "PCIEX16_1 Clock" (operating frequency for the first PCI Express 16x slot) is set to "160 MHz" from the "Auto" value.
- "PCIEX16_2 Clock" (operating frequency for the second PCI Express 16x slot) is also changed from "Auto" to 160 MHz.
- "CPU Voltage" - the power supply voltage of the processor core, from the mode "Auto" changes to 1.5000 v.
- "CPU Multiplier" is the ratio of the frequency of the processor to the frequency of its system bus. The status of "Auto" here needs to be replaced by the last value - 14.5x.
- After all the manipulations, changes to the BIOS should be saved and restarted.
Remember that in different versions of BIOS settingsmay differ in name, although their essence does not change from this. "CPU Frequency" or the frequency of the system bus is the main value, which is changed when the processor is overclocked. So in some cases, you can do only by changing this parameter. But it is recommended to start with minimal changes, save them and reboot the PC for the changes to take effect. Remember that the overclocking procedure, especially if you are an inexperienced user, can lead to serious problems for the computer.
On how to overclock other processors, read our articles:
- How to overclock the processor via BIOS
- How to overclock the processor