How to assemble a motorcycle?
Watch the video


A motorcycle is a vehicle that,perhaps more relevant than a car. On a motorcycle you can avoid numerous and prolonged traffic jams. But it is worth considering that keeping a motorcycle is not so cheap. Repair of the "iron horse" can cost you more than repairing a car.
Stage one: developing the idea of a future motorcycle
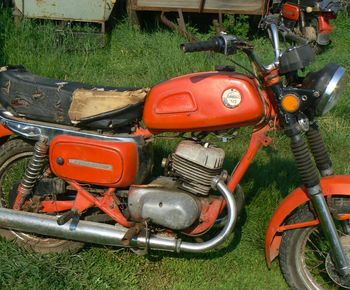
You, of course, understand that there are a lot of varieties of motorcycles. First of all, determine the class of your future motorcycle. This is what will serve as the basis for choosing style and design.
It is possible that you are full of fresh and creativeideas that are ready to be realized right now. But the fact is that only professionals can handle this. And if you have never collected a motorcycle, you should choose something simpler, which will be easy to implement and then transformed and improved. It is for this purpose that you choose what you will start from when you build your "horse".
At this stage it is necessary to fully understand the ideathe future of the motorcycle. Create a so-called plan of action. You need to think over the design, the shape of the motorcycle, the set of parts that you will need for assembly, engine components (its power) and so on.
Step two: draw a diagram
At this stage it is necessary to draw a diagram of the futuremotorcycle. It is not necessary to be an outstanding artist in order to be able to draw a scheme of a motorcycle. Let this all be very conditional, the main thing is that you put your idea on paper. In general, all the ideas should be drawn and written down on paper, because, perhaps in the process you will improve your own ideas, and in order to forget nothing, fix everything and sketch.
According to the finished scheme it is possible to draw a scale drawing on which to calculate the sizes of parts for a motorcycle (for example, frames). For this we need:

- a simple pencil;
- eraser;
- a large ruler;
- paper (it is better to use a large-scale paper for drawing);
- meter (or roulette) for measuring motorcycle parts;
- calculator for calculations.
It will be useful to make not only the general drawingmotorcycle, but also all the details separately. Having a visual diagram before it, it will be easier for you to navigate while assembling a motorcycle, which will reduce the risk of errors. So, later on the finished drawing you can check up, whether all details are established correctly, whether you did not forget something unexpectedly.
You can also draw a finished motorcycle and paint it in colors.
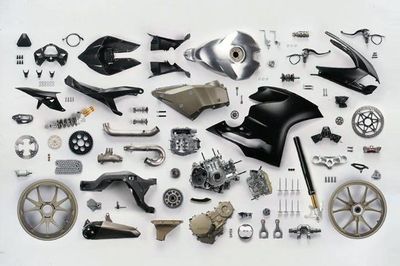
Stage three: set of elements
At this stage it is necessary to purchase or, possibly, to find all spare parts, such as:
- engine;
- wheels;
- frame;
- metal pipes;
- suspension;
- fuel tank;
- muffler.
In addition to the basic elements, additional details and tools for
- hammer, sledge hammer;
- welding (and, accordingly, electrodes);
- spanners;
- Screwdriver Set;
- various hinged-and-jawed tools (pliers, pliers);
- bolts, and to them washers and nuts;
- Bulgarian for cutting off parts;
- putty kit;
- good paint (it is better to take in a can, so that later there would be no smudges) and acetone;
- kerosene for cleaning parts from rust;
- small wiring;
- stickers for decorating the "iron horse".
In general, you need to purchase everything that you wrote down in your list at the first stage, and, perhaps, completed the process of creating an image of a motorcycle.
Stage four: assembly manually
If you do not have a lot of experience, perhaps the first time you will not be able to collect everything,

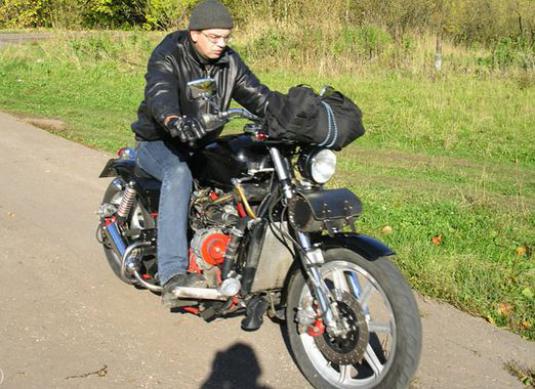
The motorcycle of manual assembly is called "custom"which means "user". This term describes the type of motorcycle as a prefab, which indicates that all parts were selected manually, and design is also a unique idea - yours or anyone else.
The order of assembly of a motorcycle
- Assemble the motorcycle frame from the semiconductor.
- Turn the plug and install it on the frame. Imagine the approximate location of the handlebars and brake pads.
- Establish bearings of a forward plug and analyze a condition of a motorcycle, "having wound up" some kilometers.
- Think about how you want to packwires in a motorcycle. This is an important stage of assembly, because the wires should not be located chaotically. This increases the risk of catching them on the move or under other circumstances. And you need to take care of safety. Also at this stage, you need to think about where the controller will be located, and also how you secure it.
- Set other necessary parts.
- Also a serious stage. Here it will be necessary to think and make the full wing mounts to horizontal "dropouts". Do it

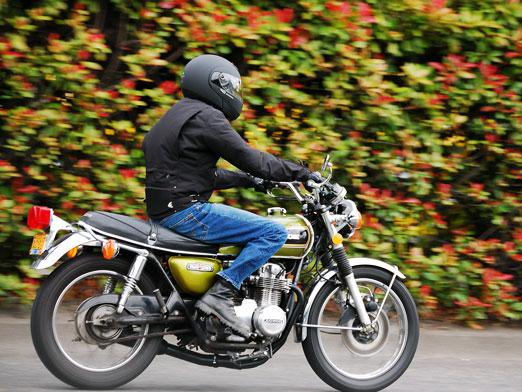
- At the last stage, you can already test the newly created motorcycle. First of all, make sure that everything is done correctly and according to safety regulations.
Now that everything is checked, you can go toyour motorcycle on the street, try to drive a certain distance. Do not try to squeeze the maximum out of your motorcycle right away. Start the tests a little. If you notice any strange noises, it is possible that the vehicle is not assembled correctly and requires additional careful checking. Do not let things slide, because it's your own safety.
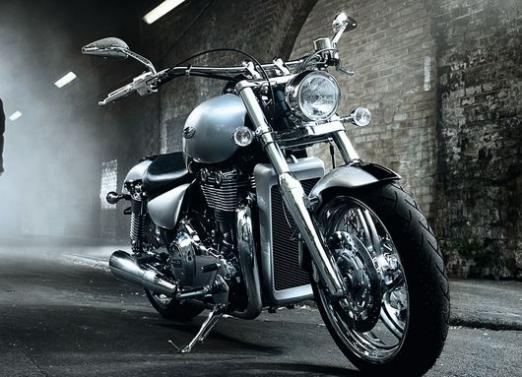
After successful tests, you can designclose: paint your motorcycle, as you please, install additional units and "lotion". Now your transport on the go, surprise people with new ideas and be proud of the result.
Now you know how to assemble a motorcycle. If you follow the suggested instructions, then no problems with the assembly should arise. Be attentive to detail, because they are no less important than the basic assembly of a motorcycle.
Detailed assembly is described in the article How to make a motorcycle.