How to remove hair in Photoshop?

If you decide to print your photo inlarge format, but with the increase in the picture, a large number of unwanted hairs were found. Try to remove hair with Adobe Photoshop.
In order to remove unwanted hair in Photoshop, use the following guidelines:
- Open the program Adobe Photoshop;
- Open the photo by holding down the Ctrl-O keys;
- Duplicate the photo. To do this, in the "Layers" column, select our image, right click on it and create a copy of the layer with

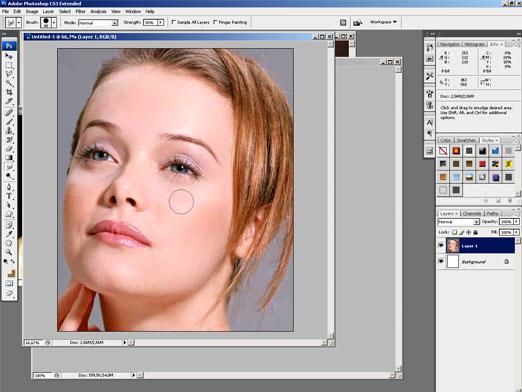
- Unwanted hairs are removed using the tool "Stamp" (Stamp), which is located on the toolbar on the left side. Select it by clicking on it with the mouse.
- Go to the settings of this tool. We exhibit:
- The size is 30 pixels.
- Hardness is about 80%.
- Pressing the Stamp (Flow) is set in the range from 80 to 100%.
- Having put out the necessary parameters, we select the plotin the photo, from which we will copy (preferably, it ideally fits the color and texture with the area on which the hairs are removed). Click on it, holding down the Alt button.
- Now we point the cursor to the area with hairs and click on it. We do this operation until we remove all the extra hairs.
Thus, we remove all unnecessary hairs.
If you are satisfied with the result, you can merge all the layers, and for this, right-click on the layer and select "Merge down".
Save the finished photo: menu "File" - "Save" or "Save as". If you need to continue working on processing your photo, then we save the changes at the very end.
Correctly having done all operations, you will understand howremove unwanted hairs and see the changes that have occurred to your photo after processing. If you want both variants of your photo to remain, then before making it in Photoshop, make a copy of the photo.