How to disassemble the keyboard?

Watch the video
How to disassemble the keyboard?

Using the keyboard, we can enter text,give commands and manage programs on the computer. During use, the keyboard clogs, and sometimes it needs to be cleaned. To clean the keyboard well, it needs to be dismantled.
How to disassemble the keyboard on a PC and on a laptop?
Keyboard for PC
- The first thing you need to do is turn offkeyboard from the computer. After that, arm yourself with a camera and take a picture of the keyboard, then collect it correctly. Also for this you can find on the Internet an image of your keyboard and print it.
- Install the keyboard by turning it face down. It is necessary that nothing presses on the keys.

- Loosen all the screws on the back of the keyboard and remember their location.
- Carefully and carefully remove the back cover to prevent damage to the "filling" of the keyboard. After that, also carefully remove the plate that transmits signals from the computer. Put the part aside.
- Arming with a screwdriver and start gently (!) to pull out each key in turn. Please note that each button has a latch to open. Be very careful, since these latches can easily be broken.
- After cleaning the unit, reassemble in reverse order.
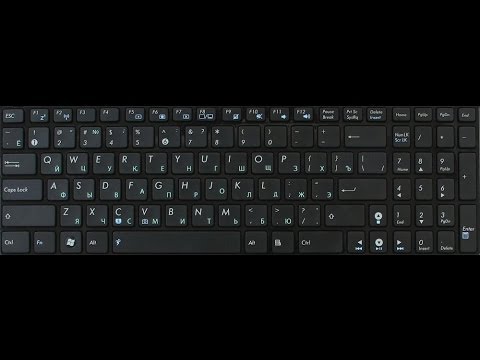
Keyboard on laptop
- To disconnect the keyboard, first turn off thelaptop and remove the battery. In front of you is a keyboard on which each button is equipped with microlifts - specialized mounts. To avoid confusion, each key removed must be left with the mount. Do not forget to take a photo of the keyboard, then you can restore it.
- At the edges of the keyboard you will find small gaps between the case and the device. These gaps are designed so that you can

- Be extremely attentive. All keys can be conditionally divided into groups by the way they are attached. Remember that each fastener will need to be installed in its place, so it's worth to carefully and with the utmost care to dismantle them.
- After cleaning the keyboard and key bindings, you can start assembling the keyboard. The last you need to put the keys that you shot in the beginning.
Read more:

How to connect the keyboard to the tablet?

How to disassemble Samsung s5230?
How to remove the keyboard Asus?

Filled a laptop: what to do?

How to connect the keyboard to the laptop?

How do I open the keyboard?

How to assemble a keyboard?

How to fix the keyboard?

Why does not the keyboard work?

How to disassemble a laptop?