How to weave a whip?

Watch the video
Scourge, rods, whips and whips for many centuriesback widely used by shepherds to manage the herd. In the Cossacks, for example, the whip was a symbol of power and power. But already in the beginning of the 20th century in Russia the scourge became associated with oppression, because it was at this time that the Cossacks began using it to disperse rallies and demonstrations. Today, whips are made mainly for decorative purposes. Further in the article we will tell you how to weave a lash with your own hands.
How to weave a whip: weaving techniques
There is a huge number of various techniques of weaving weaves with a whit (the core of the whip) and without it.
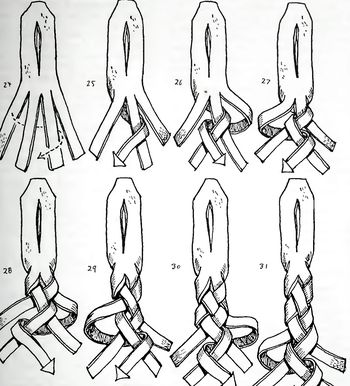
Without a whit the whips are made in three basic ways: using the oblique, rhombic and the most common weaving technique - "snake".
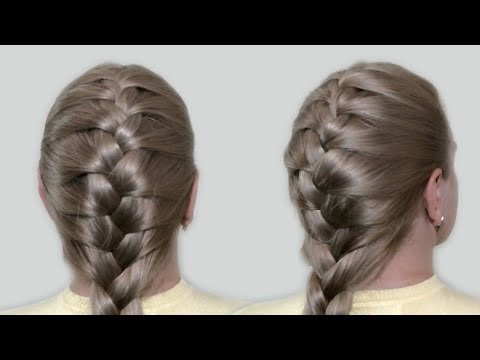
Many years ago, the people often called the scourgewhip. Translated from the language of the ancient Aryan tribes, the root of the word "naga" means "snake". The Scourge was identified with the snake not only because of a similar shape, but also thanks to a special steppe-like or, as they say now, "snake" way of weaving. The body of the snake is covered with small scales, and on its stomach one can see broad transverse bands. A similar pattern is obtained on whips made using "snake" technique of weaving.
Manufacturing of the handle
The handle and the main part of the whip are made separately from each other. Usually,
At the end of the "grasping" handle is a ball. It is grinded "under the grip", that is, in such a way that it is convenient to squeeze it in the palm of your hand. The ball, located at the bottom of the handle, serves not so much as decorative decoration, as a limiter for the hand.
At the final stage of manufacturing the handle, the finished wooden base is braided with sliced leather belts.
How to weave a whip with a whit?
For weaving any kind of whip you will need scissors, leather, sling, electrical tape and a pre-cut handle.
For the manufacture of the whip is better to choosequality beef skin, as it is flexible enough and soft, which makes it easier to handle. For the manufacture of the whip, also bootlegs of old leather boots. Some prefer to use rawhide, which is pre-impregnated with castor oil, tar or goose fat, as in the old days. The fact is that if the rawhide does not soak, then after a while it will begin to dry up and break down. In our time, available leather, made in modern conditions. It is much more practical, therefore, if you want your product to be more durable, choose the finished material. Below is a step-by-step instruction for manufacturing a whip with a whitney:
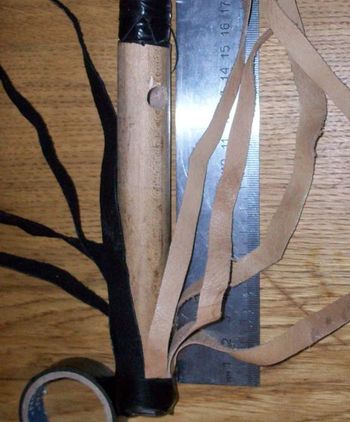
- Before you begin to weave a whip, cut the skin into strips from the top to the bottom. At the same time, they should narrow downwards. Such
- As a whitney (the core of the whip) is recommendeduse a line - a kapron cord with a diameter of 8 to 15 mm. Such a cord will be stronger and more elastic than a whiten made of leather. Strap using tape should be attached to the handle.
- The skin, to which the vitene will be braided, should be fixed at its base, firmly piercing in the attachment site.
- After that, the fixing point should be covered with fringe and adorn the whiten with a leather band.
The standard whip is weaved using eight bandsskin of equal length and width. To get a denser and stronger product, you should use ten or twelve bands. In this case, it should be borne in mind that the more bands you use, the more complex and laborious will be the process of manufacturing the whip. Before you begin to weave, leather bands should be moistened. As a moisturizer, you can use wax for shoes, moisturizing cream or plain water.
The end of the whip can be done with a slap. To make a slap in the form of a droplet or leaf, you must sew two halves of the skin in advance cut out the shape. Between the pieces of skin you can put a bullet or a piece of lead - this will enhance the effectiveness of the impact.
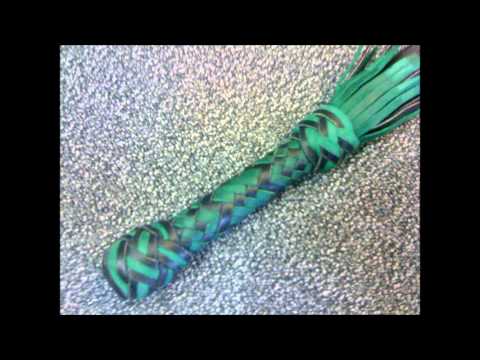
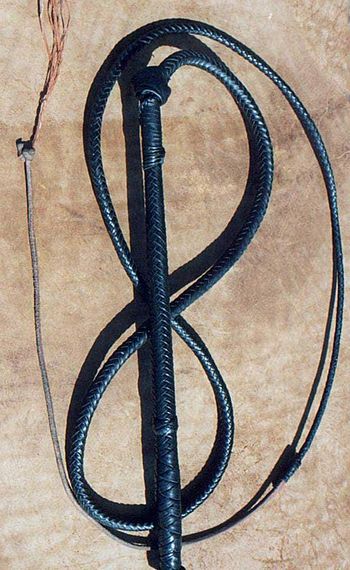
The end of the whip can be in the form of a faceted knot that will be more reliable than a slap from sewn pieces of skin and will not fall apart when it strikes a hard surface.
When the whip is ready, it should be rolled on the floor or table, pressing down with a wooden bar or, for example, a cutting board. This is necessary to level the surface of the product.