How to create a zombie server?

For people who are tired of the ordinaryCounter-Strike 1.6, there is an excellent solution - Zombie Server, where players are divided into two teams, one of which, after the start of the round, turns into a zombie, and their goal is to infect all human players. The task of living people is to stop the infection process and kill all the zombies.
There are several game modes on the ZM server andseveral types of zombies that have different abilities. In addition, new equipment adapted for this mod is available to players, so I think many will be tempted to create a zombie server in cs to see something new in an old and reliable game.
Installing a ZM Server in CS 1.6
For those who want to create a zombie server, not badfor starters, read the article How to create a CS server, which tells in detail about which distributions you need to download and what settings to set for the server.
For fans of zombies, I recommend downloading immediatelyready archive, for example: ZP server. Good build, which is popular among players. It supports several game modes, the archive contains many maps, the mod is not overloaded with unnecessary plugins.
Step-by-step installation and configuration instructions:
- Download the mod at the specified link, extract the files from the archive.
- Go to the folder: cstrike / addons / amxmodx / configs. We find the users.ini file and create administrator rights for ourselves. At the end of the file there is already an administrator: loopback, we replace this nickname with your own or we prescribe the IP address if you have a static one. In the second block, we change the alien password to our own, and also set the necessary flags for ourselves.
- Go back to the mod’s initial folder and findexe file: Start Server. A menu will appear in front of you where you can set various settings: server name, start card, IP address, number of players, RCON password (treat this password with special care, as this is the main password from the server), and also enable protection Server anti-cheat VAC.
- After selecting the settings, press the button: Start Server. After that, a console will appear on the screen in which the plug-in installation progress will be displayed. You should wait for the line: VAC secure mode is activated. Then, close the console and run the shortcut: hlds.exe.
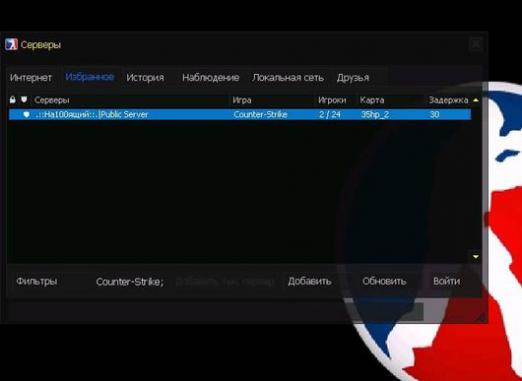
- A green menu will appear on the screen, checkthe settings are correct, then click: Start Server. That's all, you managed to create a zombie server in ks and it is visible on the network. The server address for the connection can be found in the tab: Main - IP Address.
Various additional tips on this topic can be found in the article How to create a server, which contains information on creating servers for various games.