How to make snowflakes from paper?

Watch the video

Making snowflakes and other paper craftswill give great pleasure to you and your child. In addition, the performance of small-scale manual work well develops the fine motor skills of the fingers, which greatly affects the memory and overall development of a child of any age. It is not necessary to say that joint activities with the child bring together. This fun activity will decorate your house for any holiday. The house, decorated with the hands of the child, creates an atmosphere of comfort and tranquility. Thus, making snowflakes from paper is necessary and useful for the whole family. And how to make snowflakes from paper? Let's see.
Snowflakes from paper: preparation
To make snowflakes you will need paper,it can be any density, size and color. It is better not to take a very thin paper so that the snowflakes do not so quickly crumple and lose their shape. Also, a thick foil is ideal.
Prepare six identical squares of paper in size from 10 to 25 centimeters. You will also need scissors, a stapler, a pencil and a ruler.
How to make a snowflake from paper: instruction
Let's get to work:
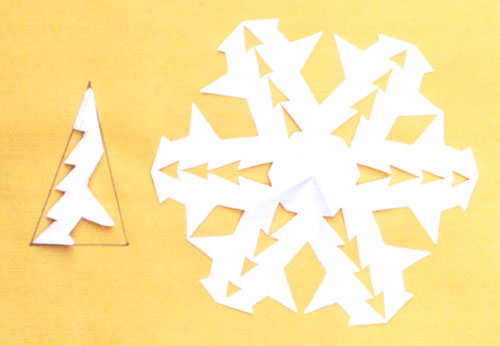
- Cut out the squared paper diagonallyso that the opposite corners exactly converge. On the resulting triangle, draw lines parallel to the sides that are not bent, use a simple thin pencil so that the lines are not visible. Now cut the triangle along the lines, ending a few millimeters from the middle.
- Expand the triangle and place it so that the fold is parallel to the table and looks at you.
- Internal cut strips roll into a tube and fix with a stapler. On each side of the tube there should be a triangle.
- Flip the snowflake. Closest to the previous stripes roll a tube and connect the stapler. Again, triangles should be visible along the edges.
- Turn over and follow the same with the following strips. One of six pieces of the snowflake was obtained.
- Such parts must be made from the remaining five squares.
- First, staple the three parts together, then the next three. Now you can attach the two large parts to each other.
- Carefully fasten all the adjoining parts of the paper with a stapler. Only this way the snowflake will not decay and take shape.
- The resulting snowflake can be decorated with different sequins, sequins or paillettes or even painted in colors in different colors.
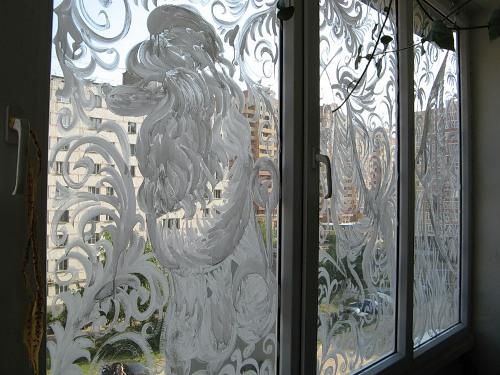
- With a needle, pierce the hole and draw a thread or rain. Snowflakes can decorate windows, ceiling or Christmas tree.
I will add that the larger you want to cutsnowflakes from paper, the denser the paper should be. And to make it even bigger, just draw more lines. But I recommend starting with small snowflakes.